
TIPS FOR CANVAS STRETCHING
An appropriately stretched canvas on a well-built frame is assured to display and protect your artwork in the future. Irrespective of a digital photo or an original painting, a properly stretched canvas is a must! Often frustration for printmakers is caused when the canvas is sagging, either during the framing procedure or months after it.
Here are a few tips for canvas stretching that will help you avoid canvas sag.
Mind the weave
The most common among all sag is the horizontal sag, usually across the canvas weave. Take for instance; an 18″ x 32″ printed with the weave going horizontally can tend to sag in the 32″ direction. Always take note of the direction of your weave while framing.
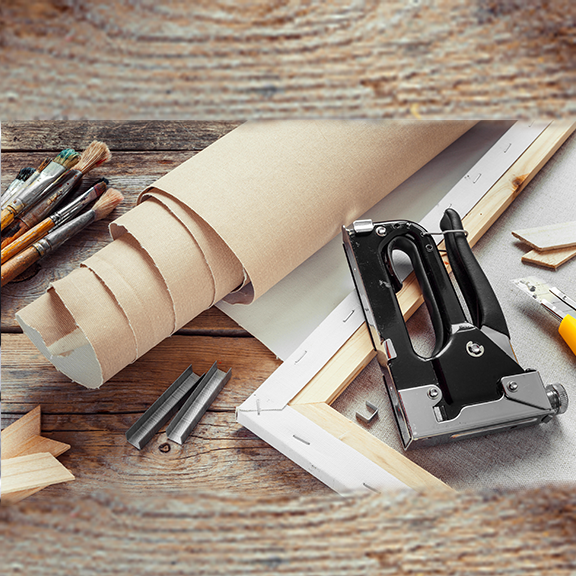
Don’t forget to staple the long sides first
It is best to staple a clean line on the longest side and then gradually move to the other side and again staple a clean line, which will help spread the tension uniformly.
Try to add crossbars after wrapping
A good way to avoid sag is by adding the cross bars or single bars after the frame is fully wrapped, stapled, and stuck with glue. It will force the last bit of loosened canvas to pull in and keep in tight.
Work with archival glue
Use archival glue on the stretcher bars as you set the edge on the frame which helps in keeping it all even and flat on the surface of the frame. It does depend on the type of stretcher bars you are using.
Work in a highly humid surrounding
When you stretch the canvas in humid surroundings, the canvas absorbs this humidity and relaxes even more. This gives you an even tighter stretch when moved into a low humid area and the canvas shrinks up again.
Now, as you’ve looked through our tips, always keep in mind our tech and color support experts in QubeArt! Allow us to help in delivering the best experience with your stretched canvas prints!